8. How to Manage Your Users and Their Permissions
There is no limit on the number of users in our system. You can add as many users as you need.
Now, please follow these simple steps to manage your users and their permissions:
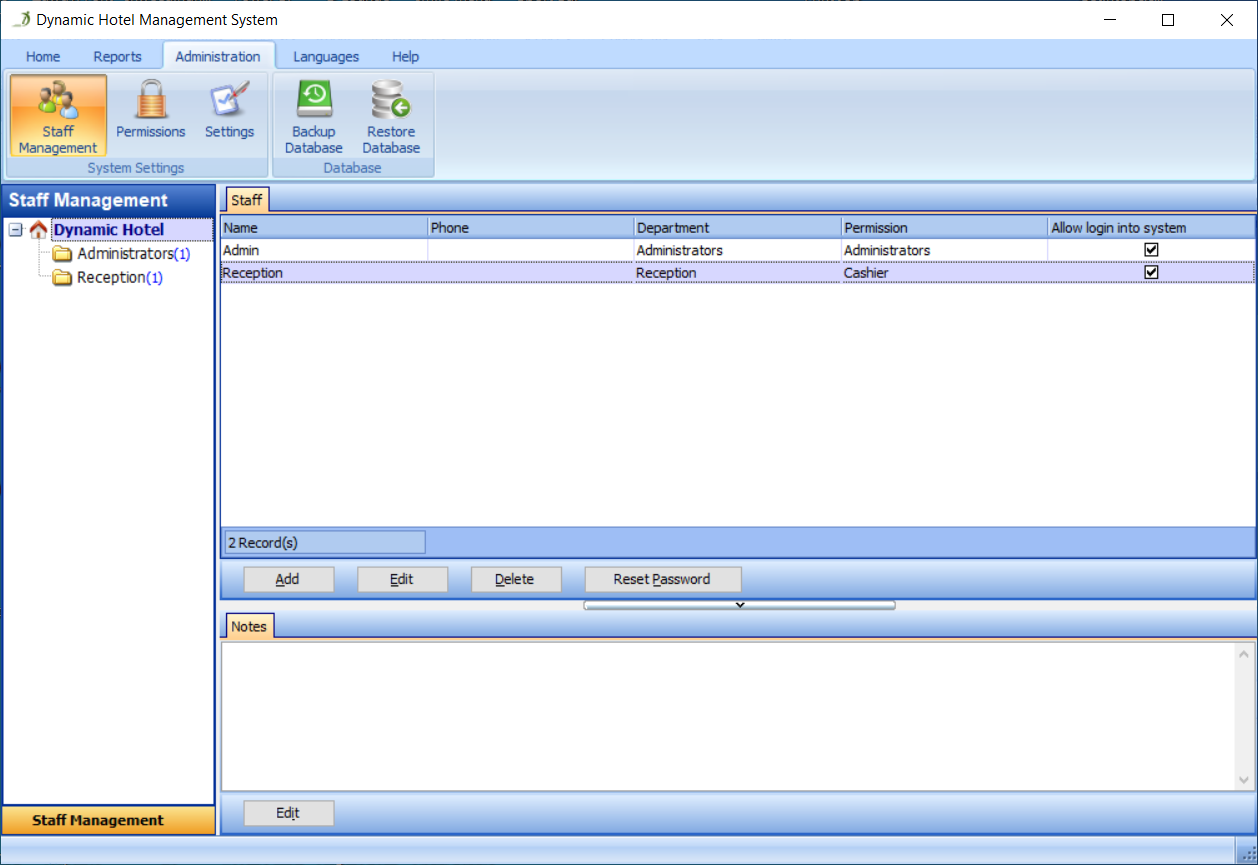
Go to the Staff Management section, as shown in Figure 53:

Click the Add button in the Staffs panel, as shown in Figure 54:

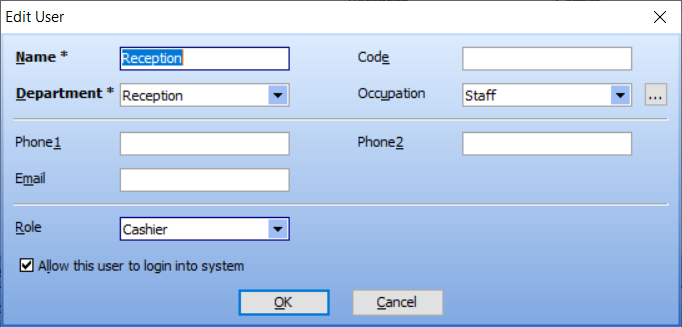
Fill in all the fields in the Add Staff dialog, as shown in Figure 55:

Then, click the OK button. The user called 'Bistone Support' has been added to the system, as shown in Figure 56:
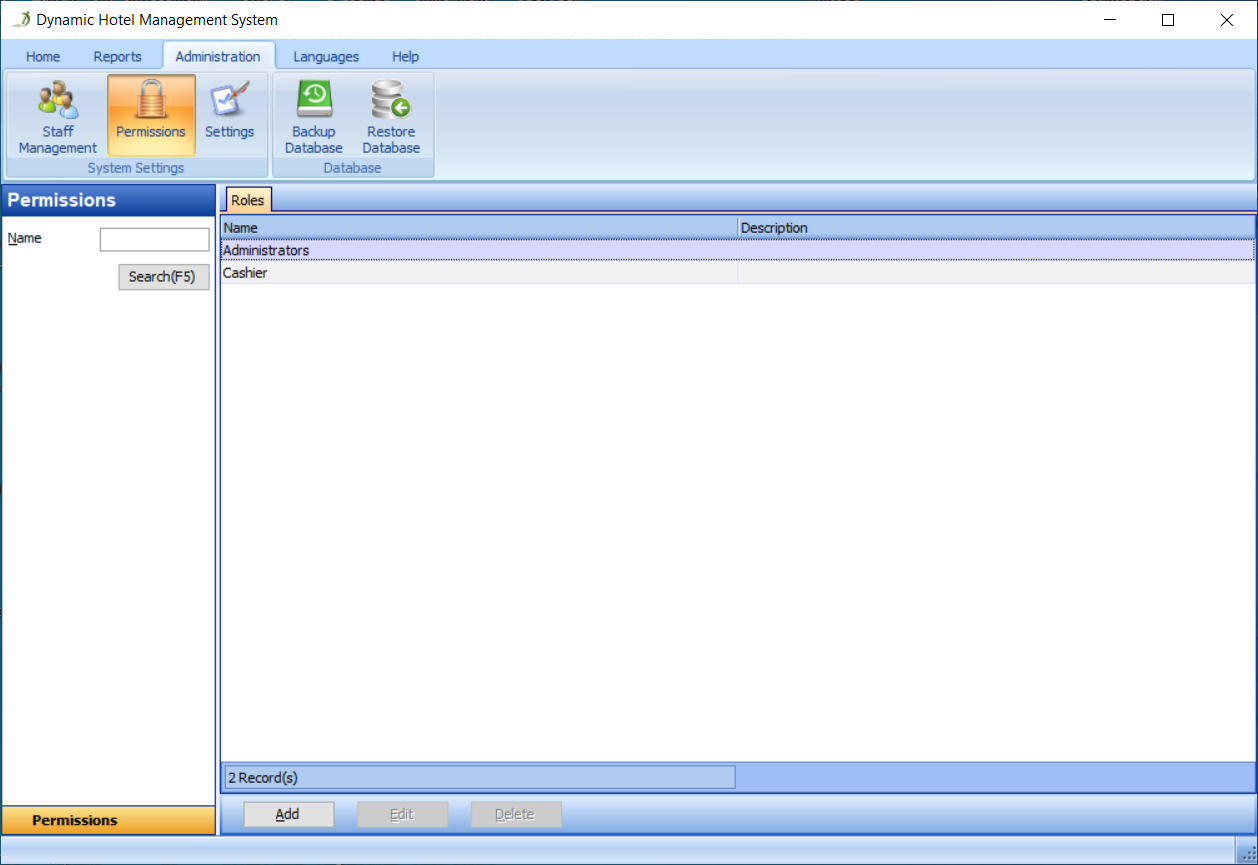
Go to the Permissions section, as shown in Figure 57:

Click the Add button to create a role in the Permissions panel, as shown in Figure 58:
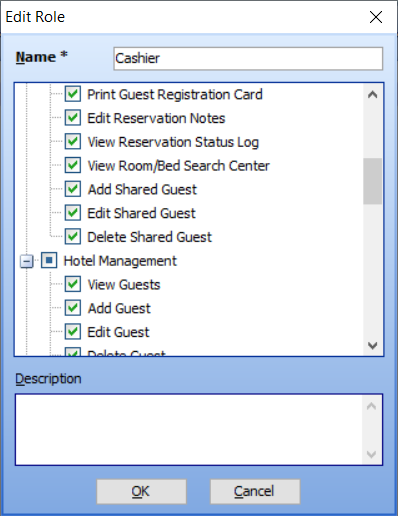
In the Add Role dialog, fill in the role name, such as 'User', and select the permissions it can perform, such as Add Reservation, Edit Reservation and so on in Reservation Management, as shown in Figure 59:
Go to the Staff Management section, select the user named 'Bistone Support', then click the Edit button and change its role to the corresponding role, such as 'User', as shown in Figure 60:
OK, when you log in to the system as Bistone Support, you will only be able to access the sections that the 'User' role can access, and perform actions on the buttons that only the 'User' role can operate, as shown in Figure 61: